| Product type |
|---|


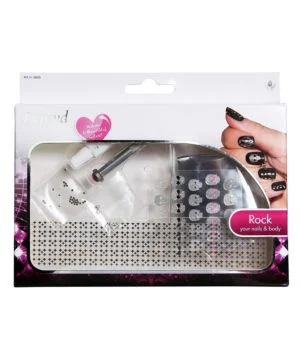

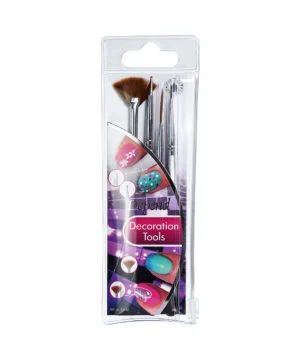
ROCK YOUR NAILS & BODY
Create a design that rocks with rivets, stickers, foil and piercing jewellery. You can be as creative as you want, decorating both your nails and body, should you choose.
- Content
- How to - Nail piercing
- How to - Self-adhesive nail art sheet
- How to – Foil
1 nail drill, 2 piercings, 20 rivets, 1 sheet of stickers, 1 nail art sheet, 5 sheets of foil, 1 tube of body glue, instructions for use.
Work on a flat surface, for instance, a table. Place a towel or a chopping board on the table to protect the surface from any marks from the drill.
1. Open the drill by unscrewing the two sections. NB! The cover has a left-hand thread, so if you hold the drill with the stone straight up, screw the ridged cover to the right.
2. Move the cover to the other end and screw both parts together again. This makes the drill longer and easier to use.
3. Decide which nail you want to pierce and put that hand on the table with the palm facing up.
4. Position the drill at the point where you want the piercing to go. Remember that you need a margin of nail measuring a few millimetres all around this point to avoid injuring yourself or breaking the nail.
5. Apply a little pressure as you drill (by turning the drill) until you are through the nail.
6. Open the piercing ring with your fingers and/or tweezers by twisting the ends of the ring away from one another.
7. Thread the ring through the hole you have made and close the ring by pushing the ends towards one another.
Warning! Never use the drill anywhere other than on the dead “white” part of the nail that protrudes beyond the fingertip. Never pierce the part of the nail that has skin underneath. Never use the drill to pierce anything other than nails.
Apply base coat and two coats of your chosen colour and allow to dry.
1. Cut out the pattern you want to apply to the nail; you can cover the entire nail or cut out small sections to create your own unique designs.
2. Remove the plastic film from the cut-out design.
3. Use tweezers to position the design on the nail before pressing it securely into place with a finger.
Tip! If you want a pattern to cover the entire nail, remember that nails are slightly convex and you may therefore need a little more material than you think looking at the nails. Cut out a design of the correct size and use the tweezers to press down the edges and cover the nail completely.
4. Finish off with Depend Top Coat.
Apply base coat and two coats of your chosen colour and allow to dry.
1. Cut the foil to a suitable size before starting to make it easier to handle.
2. Apply a thin layer of the glue to the nail where you want the foil to go. Leave it to dry for approx. 4-5 minutes. The glue has a blue tinge to it when you first apply it but becomes transparent as it dries. Remember that the glue will be sticky even after it has dried, enabling the foil to stick to it.
3. Apply the foil to the nail with the shiny surface of the foil upwards.
4. Pressing firmly, rub the foil into place using an orange stick, for example.
5. Carefully remove the piece of foil.
Tip! If you want to add more foil to the nail, repeat steps 3-5.
Finish off with Depend Top Coat.