

GEL BUILDER STARTKIT
# 2913 Gel Builder Startkit
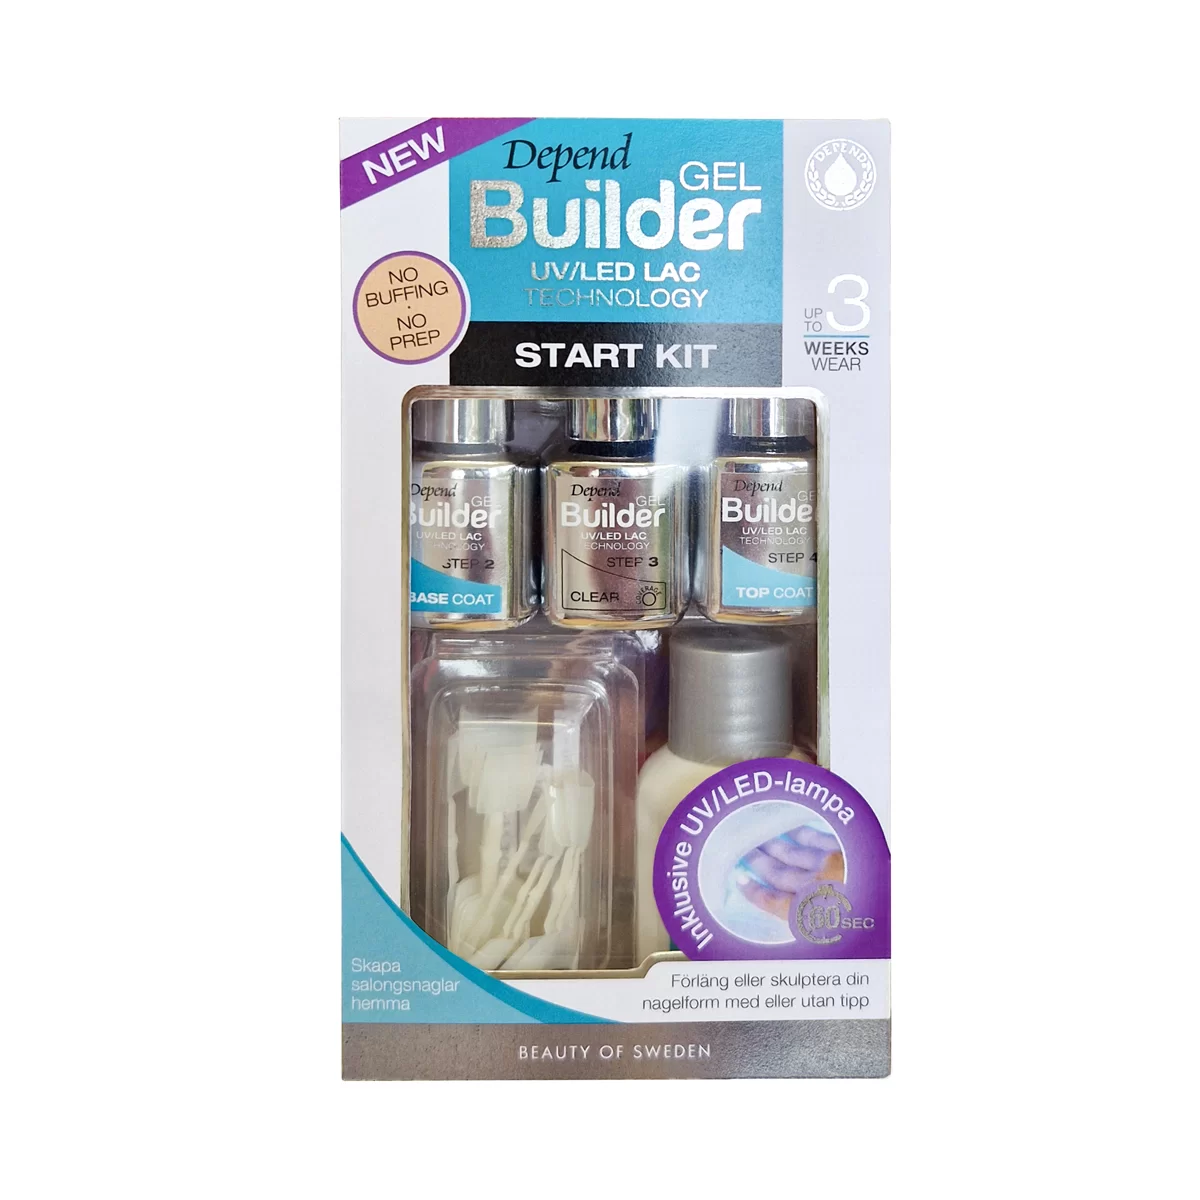
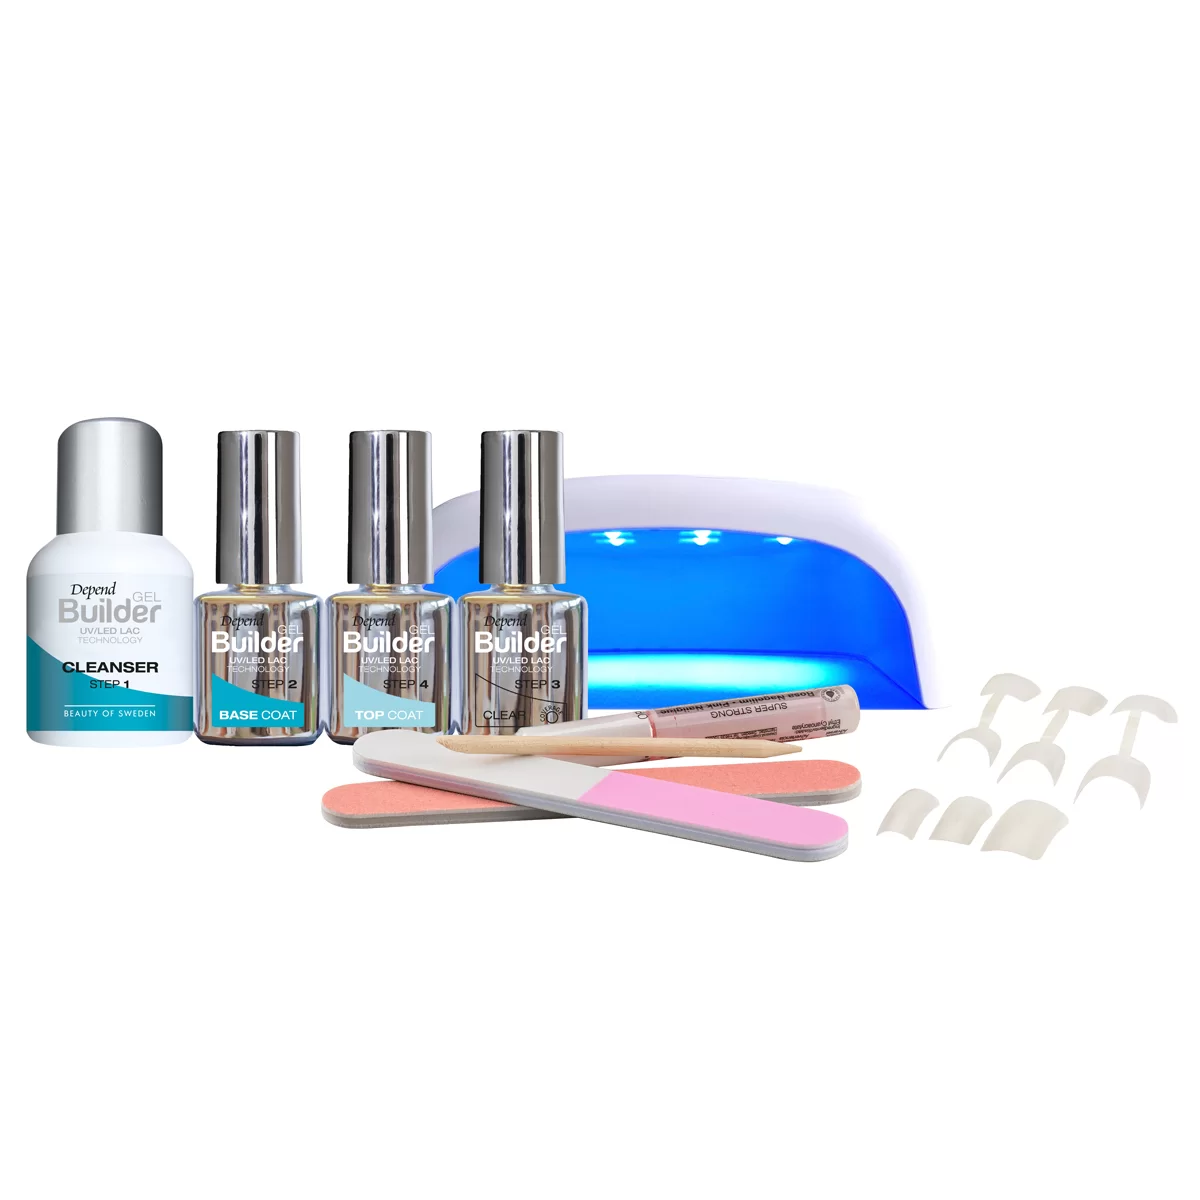
Build salon nails at home with just a few simple steps! Change your nail shape, strengthen your natural nail, or extend with tips. With Gel Builder, you get hard, stable, and durable nails with salon quality that lasts up to 3 weeks. The starter kit contains everything you need to get started quickly and easily.
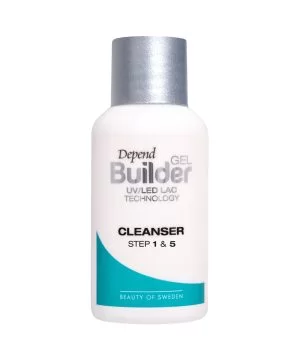
With Gel Builder, your nails only need a light cleaning with Cleanser before you begin your treatment. The UV/LED lamp is developed in symbiosis with the Gel Builder system, and each layer is cured for 2 x 30 seconds to ensure safe and proper curing of the material.
The viscosity of the gel allows you to either extend or reinforce, while being flexible enough to self-level. After curing the Top Coat in the lamp, cleaning with Cleanser remains. Your Gel Builder nails are now cured, dry, resistant to harsh impacts, and have a fantastic shine.
Removal of Gel Builder is done using two different methods. Method 1 is the gentle choice where a special vegetable oil and a warm water bath remove the material. Method 2 is more suitable for those with dry nails where a remover may be needed. For removal during reinforcement, either Method 1 or Method 2 can be used. We primarily recommend Method 1 which works for the majority of nail types. For the others, we recommend Method 2. To remove extensions with tips, Method 2 should be used.
Read through the entire instruction manual and safety information carefully and follow it, and have all products and accessories ready around you before you begin the treatment.
- Safety Information
- How to
- Content
- Academy
Gel Builder Base Coat, Gel Builder, and Gel Builder Top Coat:
The product is not intended for use by individuals under the age of 16. Keep out of reach of children.
The product is not intended to be applied more than once every 3 weeks.
Avoid contact with the skin. Make sure to apply only on the nail surface and not on the surrounding skin or cuticles. If you get Base Coat/Top Coat or Gel Builder on the skin or cuticles, gently remove the product with Cleanser on a cotton pad. Once curing is complete, wash the skin thoroughly with soap and water to remove any residual products.
Avoid contact with the eyes. If you get the product in your eyes, rinse gently with water for several minutes, remove any contact lenses, and continue rinsing. If eye irritation persists, seek medical advice/care.
Curing with Depend UV/LED lamp: The lamp is preset for 30 seconds with 1 press. For 60 seconds of curing, press the 30-second button twice. It is important to always follow the specified times according to the instructions. Shorter times will not cure the material, thus increasing the risk of allergies and reducing durability.
Allergy information: Contains ingredients that may cause allergic reactions in sensitive individuals. Discontinue use of this product if you develop redness or itching. If burning, itching, or swelling occurs during treatment, remove uncured material with Cleanser on a cotton pad and then wash your hands thoroughly with soap and water. If the problems persist, consult a doctor for advice. If skin irritation or rash occurs after treatment, seek medical advice/care.
Always leave a good safety margin from the cuticle.
Nail Glue: The glue contains cyanoacrylate. Bonds quickly to skin and eyes. Keep out of reach of children. Causes serious eye irritation. Irritates skin. May cause irritation to the respiratory tract. In case of contact with eyes, rinse carefully with water for several minutes. Remove any contact lenses if easy to do so. Continue rinsing. If eye irritation persists: Seek medical attention.
If skin surfaces stick, do not pull apart but use an acetone-based remover. Never use false nails if your natural nails are thin, damaged, or infected.
Avoid heat. Nail glue can stain or damage fabric. Protect surfaces from potential spills before opening the glue. Remove the cap, hold the glue tube upright, and twist off the wing to open the glue. NOTE: The tube is a single-use container and cannot be resealed. Therefore, do not lay the open tube down, as glue residue may leak out.
Cleanser: The product is highly flammable.
UV/LED lamp: Read the separate instructions for the UV/LED lamp before use. Do not look directly into the UV/LED lamp’s light when it is in use. Always unplug the lamp when you are done with the application. The lamp has a timer that should always be set to 30 seconds. For 60 seconds of curing, first press the 30-second button once, and when the lamp goes out, press the 30-second button once more. The lamp generates heat and may feel a little warmer if you have thin nails or apply too thick layers of polish on the nail, this sensation will go away after the treatment.
Storage of Gel Builder at home
Gel Builder products are light-sensitive. Therefore, be sure to screw on the cap immediately after use. Wipe the threads of the bottle neck to reduce the risk of the cap being difficult to open during the next use.
Store the products in a cool and dark place.
How often can I apply Gel Builder?
Gel Builder lasts up to 3 weeks, which means you should not have treatments at shorter intervals. Doing so will put significant strain on the nails, which can lead to negative effects on the quality of your natural nails. We also recommend that after removal, you wait a week before applying Gel Builder again and that you check if your nail quality is in good condition. If it is not, wait until the quality is good again.
Preparations before/after the treatment:
The products should be used indoors and must not be exposed to direct sunlight during the treatment. Protect the surface with a towel where you sit and apply. Ensure good ventilation throughout the treatment. Have good lighting. If you have polish or polish residue left on your nails, remove these with Depend Supersnabb Nail Polish Remover. Have cotton swabs handy to easily remove unwanted product on the skin with Cleanser. In case of polish spill on the lamp, bottle, or cap, clean with Cleanser and wash your hands thoroughly with soap and water.
INSTRUCTION MANUAL Gel Builder Starter Kit (extension, reinforcement)
The instruction manual contains detailed instructions for performing a reinforcement on a natural nail or an extension with a tip.
Carefully read through the entire instruction manual and safety information. Follow it step by step and have all products and accessories ready before starting the treatment. Keep this instruction for future treatments.
Only use the specified products according to the instruction manual and never mix with other brands.Use the Depend UV/LED lamp that is compatible with Gel Builder and ensures proper curing of the material.
Do not use this product if:
You have previously had an allergic reaction after using UV/LED-cured nail products.
You are sensitive to acrylates as these products can cause an allergic reaction. You have cuts, cracks, etc. on the cuticles or if your nails are in poor condition (thin, dry, flaky).
You are a nail biter or have short nails where the nail edge (tip) ends below the skin on the fingertips.
General application technique:
To avoid the polish getting on the skin, we recommend that you always:
Have good lighting and working position when applying the products.
Apply polish with a good safety margin from the cuticle, especially when applying transparent products as they are harder to see.
Wipe the brush against the inside of the bottle neck when applying Base Coat and Top Coat to avoid getting too much polish on the brush and thus thick layers. Too much polish increases the risk of it running towards the cuticle as well as poorer adhesion.
Keep in mind that the polish does not dry until you cure it in the UV/LED lamp, so you have plenty of time during the application itself.
Important! Make sure that you really have all fingers under the UV/LED lamp light. Remember not to touch the nail with your fingers during the treatment.
Application technique for extension:
Important: If the product comes into contact with the skin around the nail, it must be removed before curing with Cleanser on a cotton swab. Applies to steps 8, 9, and 10.
During the treatment, a sticky surface forms after steps 8, 9, and 10 on the nail that should not be touched. This surface is removed according to the instructions in step 11.
Step 1 – 7 are done completely for all the nails first.
Step 8, 10, and 11. Start with the four fingers of one hand, that is, from little finger to index finger. Complete these first before moving on to the next hand and repeat the process. Finish with both thumbs together.
Step 9. Only one nail is done at a time.
Extra Tips: Use one of our Nail Art brushes in step 6 to help apply and move Gel Builder like a pro.
Application technique reinforcement:
Important: If the product comes into contact with the skin around the nail, it must be removed before curing with Cleanser on a cotton swab. This applies to steps 4, 5, and 6.
During the treatment, a sticky surface will form on the nail after steps 4, 5, and 6, which should not be touched. This surface is removed according to the instructions in step 7.
Steps 1 – 3 must be completed first for all nails.
Steps 4, 6, and 7. Start with the four fingers of one hand, that is, the little finger to the index finger. Complete these first before moving on to the other hand and repeating the process. Finish with both thumbs together.
Step 5. Only do one nail at a time.
Extra Tips: Use one of our Nail Art brushes in step 6 to help apply and move Gel Builder like a pro.
Instructions for extension with Gel Builder
Use a fine/medium file to shape your natural nail evenly to fit the tip better.
Apply Depend Exfoliating Cuticle Remover around the cuticles and on the nail, let it work for 1 minute. Wash off with soap, water, and a brush. Use the manicure stick to push back the cuticles if needed and scrape away dead skin from the nail surface.
Measure out and choose which tip size fits your nail; it should fit from side to side on your nail. Preferably choose one that is too large and file it down on the sides so that it fits perfectly.
Gently file the top side of the tip to reduce seams and make the transition smoother against your nail. Dust off the surface of the nail.
Clean your nails with Cleanser.
Apply a thin layer of glue to the tip’s attachment surface. Apply a thin layer of glue to your natural nail where the tip will attach. Hold the tip angled downwards at the contact surface against the nail and press it evenly against the nail, maintaining pressure for a few seconds. This reduces the risk of air bubbles.
Once the glue has dried, you can cut and file the tip to your desired shape. Dust off. Clean again if necessary.
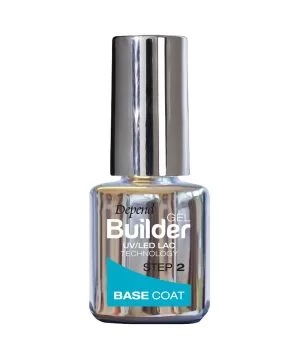
Apply Base Coat over your natural nail and the tip. Cure for 60 seconds. (Press the 30-second button twice).
NOTE: This step is done 1 nail at a time!
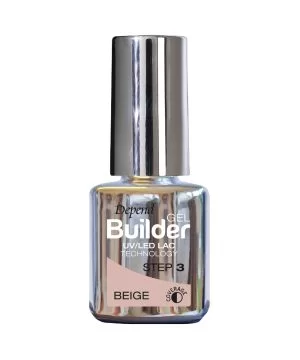
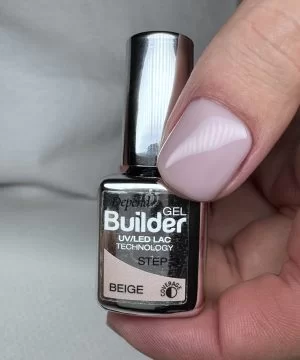
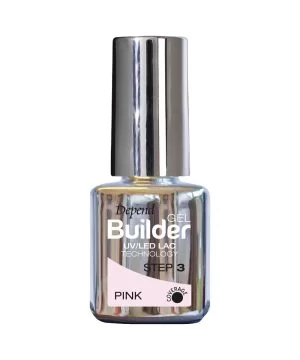
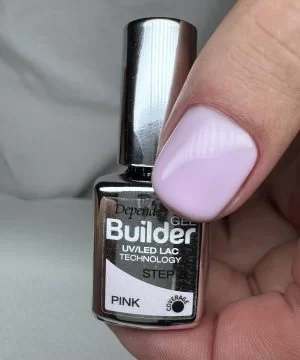
Apply a thin layer of Gel Builder in the chosen shade over the nail and tip, leaving a margin around the cuticle, and let the surface remain uncured. Pick up a new amount of gel on the brush and place it along the middle of the entire nail like a string to build up. Alternatively, you can also use a U-sweeping technique to move the gel over the nail.
Then turn the finger upside down at a 45-degree angle to create the perfect Apex area. Gravity will then pull the gel downward, creating an arch = Apex, where you get the best strength and balance on the nail.
When you are satisfied, flip the finger back. Adjust if necessary. Cure for 60 seconds (press the 30-second button twice).
If you are not satisfied with the gel application, first clean the nail from the sticky surface according to point 11 below. Then correct the shape with a medium/coarse file, dust off, and clean again.
If you want to add a Gel iQ color, this should be done before the Top Coat is applied and then cured for 30 seconds for each layer. Once 4 fingers are done, apply the Top Coat and cure for 60 seconds (press the 30-second button twice).
Cleaning/Top finishing
The sticky surface that forms on the nail after curing the Top Coat must be removed to create the optimal shine. It is important to clean the entire nail surface with Cleanser. Wipe the surface with a firm stroke to remove the sticky layer. You will need at least 12 cotton pads on hand.
Do the following for each nail:
Apply plenty of Cleanser on a cotton pad.
Place the wet side of the pad over the entire nail and wait 5 seconds.
Press with 2 fingers on the pad so that you get an even pressure over the entire surface of the nail. Then pull from the cuticle and up towards the tip of the nail in one decisive motion.
Switch to a new clean pad for each nail and repeat the same steps for all nails.
Once all the nails are cleaned according to this principle, do one more cleansing with Cleanser. This will enhance a fantastic shine and luster to the color. Wet your pad with Cleanser and clean from the cuticle out towards the tip of the nail. First in the middle and then on the left and right sides. Use a new clean pad for each hand.
Important! Finish the whole treatment by washing your hands thoroughly with soap and water.
You are now done with the treatment and have a high-gloss durable polish that lasts for up to 3 weeks.
Instructions for enhancement with Gel Builder
Use a fine/medium file to shape your natural nail evenly to fit the tip better.
Apply Depend Exfoliating Cuticle Remover around the cuticles and on the nail, let it sit for 1 minute. Wash off with soap, water, and a brush. Use the manicure stick to push back the cuticles as needed and scrape off dead skin from the nail surface.
Clean your nails with Cleanser.
Apply Base Coat over your natural nail and the tip. Cure for 60 seconds (press the 30-second button twice).
NOTE: This step is done one nail at a time!
Apply a thin layer of Gel Builder in the chosen shade over the nail and tip with a margin around the cuticle, leaving the surface uncured. Pick up a new amount of gel on the brush and apply it along the center of the entire nail as a strand to build up. Alternatively, you can also use a U-sweep technique to move the gel over the nail.
Then turn the finger upside down at a 45-degree angle to create the perfect Apex area. Gravity will pull the gel downwards and create an arch = Apex where you get the best strength and balance on the nail.
When you are satisfied, turn the finger back. Adjust if necessary. Cure for 60 seconds (press the 30-second button twice).
If you are not satisfied with the gel application, first clean the nail from the sticky surface according to point 7 below. Then correct the shape with a medium/coarse file, dust off, and clean again.
If you want to add a Gel iQ color, this should be done before the Top Coat is applied and then cured for 30 seconds for each layer. Once 4 fingers are done, apply the Top Coat and cure for 60 seconds (press the 30-second button twice).
Cleaning/Top finishingThe sticky surface that forms on the nail after curing the Top Coat must be removed to create the optimal shine. It is important to clean the entire nail surface with Cleanser. Wipe the surface with a firm stroke to remove the sticky layer. You will need at least 12 cotton pads on hand.
Do the following for each nail:
Apply plenty of Cleanser to a cotton pad. Place the wet side of the pad over the entire nail and wait 5 seconds. Press with 2 fingers on the pad to get an even pressure over the entire surface of the nail. Then pull from the cuticle and upwards to the tip of the nail in a firm motion. Switch to a new clean pad for each nail and then repeat the same steps for all the nails.
Once all the nails are cleaned according to this principle, do another cleaning with Cleanser. This will highlight a fantastic shine and luster on the color. Dampen the pad with Cleanser and clean from the cuticle out towards the tip of the nail. First in the middle and then on the left and right sides. Use a new clean pad for each hand.
Important! Finish the entire process by washing your hands thoroughly with soap and water.You are now finished with the treatment and have a high-gloss durable polish that lasts up to 3 weeks.
How to remove Gel Builder
Depending on the type and quality of your nails, you may find it easier or more difficult to remove Gel Builder. Therefore, we have chosen to use 2 different methods for this. To remove the enhancement, you can use Method 1 or 2. We primarily recommend Method 1, which works for the majority of all nail types. For the others, we recommend Method 2.
To remove the extension with a tip, Method 2 should be used.
Method 1: Gel iQ Remover Oil gently removes Gel Builder with a vegetable oil. For this method to work, a certain amount of regrowth is required between the cuticle and Gel Builder, which naturally occurs after the Gel Builder has been in place for up to 3 weeks. The method is gentle on both the nail and cuticle thanks to its unique formula where a reaction between Gel iQ Remover Oil, water, and Gel Builder causes the material to release from the nail.
Method 2: A more traditional removal. Here, Gel iQ Remover and Gel iQ Removal Wraps Foil are used as tools to simplify the removal.
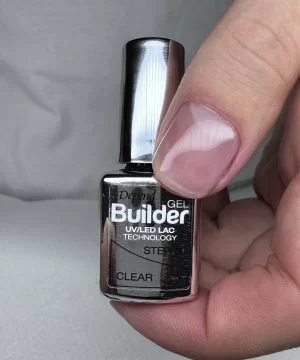
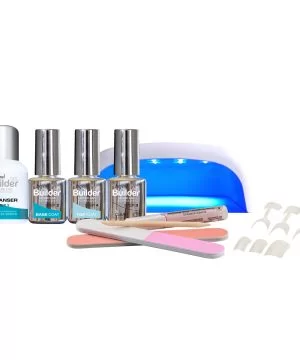
Contains: 5 ml Gel Builder Base Coat, 5 ml Gel Builder Top Coat, 5 ml Gel Builder Clear, 25 ml Cleanser, 2 nail files, 1 manicure stick, 22 pcs Natural Look Short Cut Tip, 24 pcs Salon Size Flexi Fit, 2 g pink nail glue, 1 UV/LED lamp with adapter, instructions for use.
Our formulations are continually updated and the ingredients may therefore vary slightly over time. For current content, please refer to the ingredient list on the purchased packaging.Animal origin: Vegan formula, does not contain raw materials of animal origin.
Ingredients:
# 29137999 Ingredients: Bis-Hea Poly(1,4-Butanediol)-9/Ipdi Copolymer, Hydroxypropyl Methacrylate, Isobornyl Methacrylate, Methacrylic Acid, Ethyl Trimethylbenzoyl Phenyl, Phosphinate, Silica, BHT.
# 29138000 Ingredients: Bis-Hea Poly(1,4-Butanediol)-9/Ipdi Copolymer, Hydroxypropyl Methacrylate, Sucrose Benzoate, Bis-Hema Polyneopentyl Glycol, Adipate/Ipdi Copolymer, Ethyl (2,4,6-Trimethylbenzoyl)
Phenylphosphinate, Trimethylolpropane Trimethacrylate, BHT.
# 29138001 Ingredients: BIS-HEA Poly(Hexamethylene/Methylpentylene Carbonate)/IPDI Copolymer, Isobornyl Methacrylate, Hydroxypropyl Methacrylate, Isobornyl Acrylate, BIS-Hema Polyneopentyl Glycol Adipate/Ipdi Copolymer, Silica Dimethyl Silylate, Di-P-Tolyl(2,4,6-Trimethylbenzoyl)Phosphine Oxide, Trimethylolpropane Trimethacrylate, BIS-HEA Poly (1,4-Butanediol)-9/IPDI Copolymer, CI 77891, Polypropylene Glycol, Silica, CI 77491, CI 19140.
# 29138002 Ingredients: BIS-HEA Poly(Hexamethylene/ Methylpentylene Carbonate)/IPDI Copolymer, Isobornyl Methacrylate, Hydroxypropyl Methacrylate, Isobornyl Acrylate, BIS-Hema Polyneopentyl Glycol Adipate/Ipdi Copolymer, Silica Dimethyl Silylate, Di-P-Tolyl(2,4,6-Trimethylbenzoyl)Phosphine Oxide, Trimethylolpropane Trimethacrylate, BIS-HEA Poly (1,4-Butanediol)-9/IPDI Copolymer, CI 77891, Polypropylene Glycol, Silica, CI 77491, CI 19140.
# 29138003 Ingredients: BIS-HEA Poly(Hexamethylene/Methylpentylene Carbonate)/IPDI Copolymer, Isobornyl Methacrylate, Hydroxypropyl Methacrylate, Isobornyl Acrylate, BIS-Hema Polyneopentyl Glycol Adipate/IPDI Copolymer, Silica Dimethyl Silylate, Di-P-Tolyl(2,4,6-Trimethylbenzoyl)Phosphine Oxide, Trimethylolpropane Trimethacrylate, BIS-HEA Poly (1,4-Butanediol)-9/IPDI Copolymer, CI 77891, Polypropylene Glycol, Silica, CI 77742, CI 42090.
# 29138004 Ingredients: BIS-HEA Poly(Hexamethylene/Methylpentylene Carbonate)/IPDI Copolymer, Isobornyl Methacrylate, Hydroxypropyl Methacrylate, Isobornyl Acrylate, BIS-Hema Polyneopentyl Glycol Adipate/IPDI Copolymer, Silica Dimethyl Silylate, Di-P-Tolyl(2,4,6-Trimethylbenzoyl)Phosphine Oxide, Trimethylolpropane Trimethacrylate, Polypropylene Glycol, CI 42090, Silica.
# 29138005 Ingredients: BIS-HEA Poly (Hexamethylene/Methylpentylene Carbonate)/IPDI Copolymer, Isobornyl Methacrylate, Hydroxypropyl Methacrylate, Isobornyl Acrylate, BIS-Hema Polyneopentyl Glycol
Adipate/IPDI Copolymer, Silica Dimethyl Silylate, Di-P-Tolyl (2,4,6-Trimethylbenzoyl Phosphine Oxide, Trimethylolpropane Trimethacrylate, BIS-HEA Poly (1,4-Butanediol)-9/IPDI Copolymer, CI 77891, Polypropylene Glycol, Silica, CI 16035, CI 77491, CI 77499.
# 2914 Ingredients: Alcohol Denat, Isopropyl Alcohol.
For more useful tips and FAQ, please visit our knowledge bank Depend Academy
Matching products