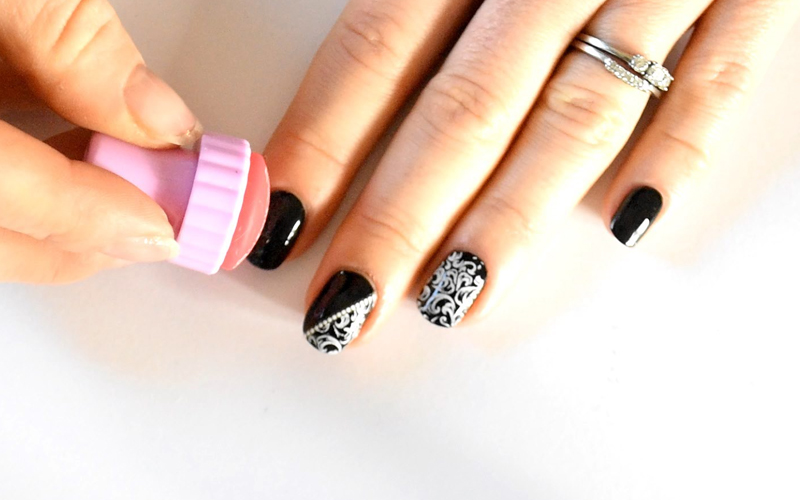
Nail stamping kit
With the Depend nail stamping kit you can create beautiful nail decorations with complete motifs in just a few minutes. The full kit gives you everything you need to get started. There are plenty of detailed motifs on the pattern template. Let your imagination run free, and create nail decorations that are really different! It’s neat, simple and fun!
Guide
Recommended products
/ START

Begin with a manicure: file and shape your nails and clean them with Depend blue nail polish remover before you apply polish.
Apply a thin layer of Depend Base Coat. Allow it to dry. Then apply polish in the colour you have chosen.
Remove the blue protective film on the Pattern Template.
Step 2
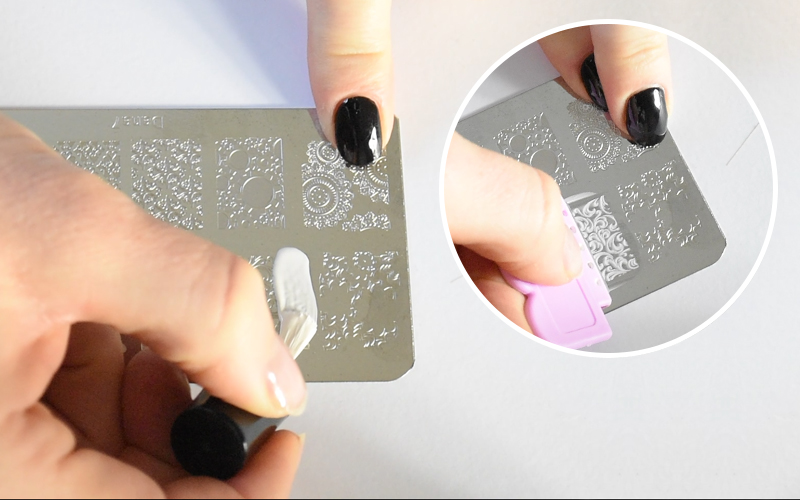
Apply Depend Stamping Special Polish over the chosen motif on the Pattern Template. Scrape away excess polish from the Pattern Template with the scraper.
Step 3
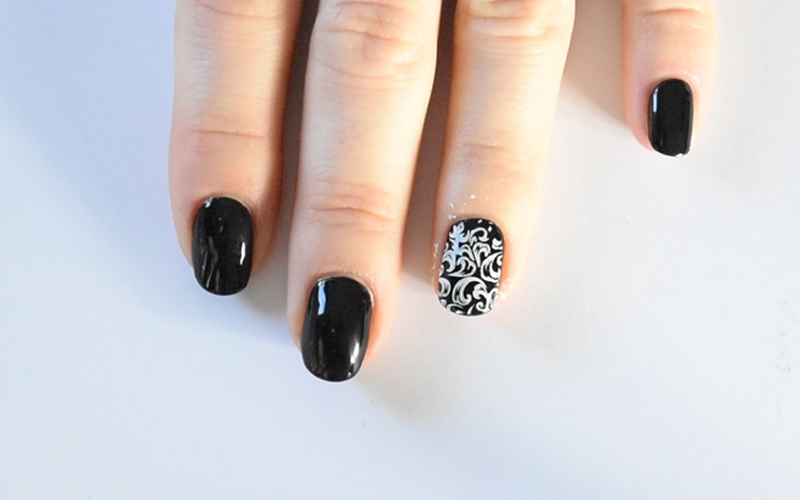
Pick up the stamp and press it over the motif to transfer the motif to the stamp. At this point you need to work quickly, so that the polish does not dry. Stamp the motif onto your nail by rolling carefully over, or by simply pressing the stamp carefully down.
Allow it to dry thoroughly before applying a thin layer of Depend Top Coat.
Step 4

With the Corrector Pen you can easily correct any mistakes and remove polish from around the nail.
Step 5
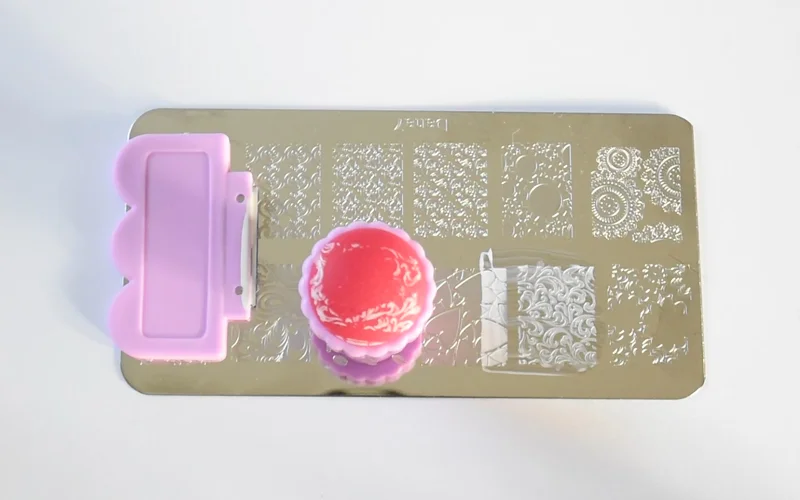
Clean the scraper and Pattern Template with Depend blue nail polish remover each time you stamp or use them.
Step 6
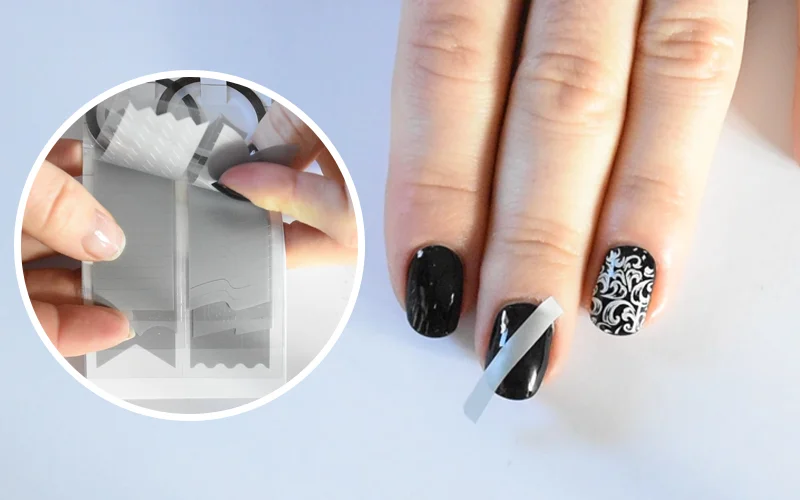
In the package Stripe yoour nails there are different templates; we use the straight model. Place the stripe template diagonally across the nail, and repeat the stamping steps.
Step 7

Stamp on one side of the template so that you get the pattern on the side of the nail that you have chosen. Remove the template after stamping. With the Corrector Pen you can easily correct any mistakes.
Step 8
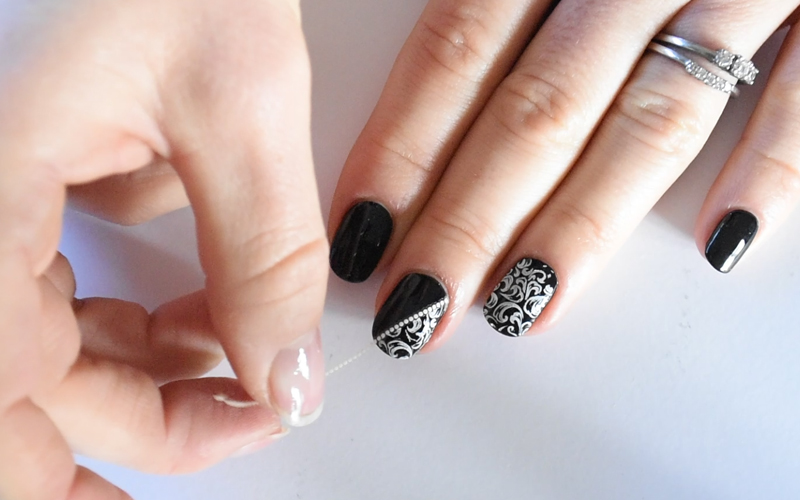
Select the sticker in the package that you want and place it diagonally across the nail. We have chosen a long, white sticker. Use a small pair of scissors to cut the length.


